

Nesse artigo vou mostrar como criar um componente NumericUpDown no Javascript.
Estilo do componente. As imagens dos botőes Up/Down colocar como plano de fundo, năo é possível colocar dentro da tags TDs, as imagens năo ficam alinhadas.
.borderButtonNumericUpDown
{
	border-right: #A0C0E7 1px solid;
	border-top: #A0C0E7 1px solid;
	border-left: #A0C0E7 1px solid;
	border-bottom: #A0C0E7 1px solid;
	background-color:#E2EBF5 ;
}

.borderTextBoxNumericUpDown
{
	border-top: #A0C0E7 1px solid;
	border-left: #A0C0E7 1px solid;
	border-bottom: #A0C0E7 1px solid;
	background-color:#E2EBF5 ;
}

.upButtonNumericUpDown
{
    height:10px;
	background: url(Imagens/cal_plus.png) no-repeat center;
}

.downButtonNumericUpDown
{
    height:10px;
	background: url(Imagens/cal_minus.png) no-repeat center;
}

.fontNumericUpDown
{
	font-family:Segoe UI, Tahoma, Sans-Serif;
	font-size:10pt;
	color:#000000;
	border-bottom-width:0px;
	border-top-width:0px;
	border-right-width:0px;
	border-left-width:0px;
	height:18px;
	background-color:transparent;
}
function numericUpDown(id, value, minValue, maxValue) {
    this.id = id;
    this.value = value;
    this.minValue = minValue;
    this.maxValue = maxValue;
    this.corSelection;

    this.onChangeValue;
}Eventos do componente. Nos eventos OnKeyPress and OnBlur validamos se os dado é numérico e se o valor está entre o valor mínimo e o valor máximo.
///OnMouseOver - Button Up/Down
numericUpDown.prototype.selectionItem = function (element) {
    this.corSelection = element.style.backgroundColor;
    element.style.backgroundColor = "#FFE6A0";
};

///OnMouseOut - Button Up/Down
numericUpDown.prototype.deSelectionItem = function (element) {
    element.style.backgroundColor = this.corSelection;
};

///OnKeyPress - Input
numericUpDown.prototype.numericUpDown_Keypress = function (e) {
    var key = (window.event) ? event.keyCode : e.which;

    if ((key > 47 && key < 58)) {
        return true;
    }
    else if (key == 8 || key == 0) {
        return true;
    }
    else {
        return false;
    }
};

///OnBlur - Input
numericUpDown.prototype.numericUpDown_Blur = function (element) {
    var value = parseInt(element.value);

    if (element.value != value) {
        element.value = '0';
    }
    else if (value < this.minValue || value > this.maxValue) {
        element.value = '0';
    }
};

///OnClick - Button Up
numericUpDown.prototype.onClickUp = function () {
    var objValue = document.getElementById(this.id + 'ValueNumericUpDown');

    if (this.value + 1 <= this.maxValue) {
        this.value++;
        objValue.value = this.value;
    }
};

///OnClick - Button Down
numericUpDown.prototype.onClickDown = function () {
    var objValue = document.getElementById(this.id + 'ValueNumericUpDown');

    if (this.value - 1 >= this.minValue) {
        this.value--;
        objValue.value = this.value;
    }
};
numericUpDown.prototype.createNumericUpDown = function (objRecipient) {
var content = '';

content += '<table cellspacing="0" cellpadding="0" border="0" width="100%">';
content += '    <tr>';
content += '        <td class="borderTextBoxNumericUpDown">';
content += '            <input id="' + this.id + 'ValueNumericUpDown"
type="text" value="' + this.value + '" class="fontNumericUpDown" style="width:99%;"';
content += '            onkeypress="return ' + this.id + '.numericUpDown_Keypress(event);"
onblur="' + this.id + '.numericUpDown_Blur(this);"/>';
content += '        </td>';
content += '        <td style="width:15px;">';
content += '            <table cellspacing="0" cellpadding="0" border="0" width="100%"
class="borderButtonNumericUpDown">';
content += '                <tr>';
content += '                    <td class="upButtonNumericUpDown" onclick="' + this.id +
'.onClickUp();" onmouseover="' + this.id + '.selectionItem(this);" onmouseout="' + this.id +
'.deSelectionItem(this);">';
content += '                    </td>';
content += '                </tr>';
content += '                <tr>';
content += '                    <td class="downButtonNumericUpDown" onclick="' + this.id +
'.onClickDown();" onmouseover="' + this.id + '.selectionItem(this);" onmouseout="' + this.id +
'.deSelectionItem
(this);">';
content += '                    </td>';
content += '                </tr>';
content += '            </table>';
content += '        </td>';
content += '    </tr>';
content += '</table>';

objRecipient.innerHTML = content;
};
<html>
    <head>
        <title>NumericUpDown</title>
        <link rel="stylesheet" href="MainStyleSheet.css" type="text/css" />
        <script language="javascript" type="text/javascript" src="NumericUpDownJScript.js">
        </script>
        <script language="javascript" type="text/javascript">
            var oNumericUpDown;

            function onLoadNumericUpDown() {
                oNumericUpDown = new numericUpDown('oNumericUpDown', 0, 0, 100);

                oNumericUpDown.createNumericUpDown(
                document.getElementById('recipientNumericUpDown'));
            }

        </script>
    </head>
    <body onload="onLoadNumericUpDown();">
        <table cellpadding="0" cellspacing="0" border="0" width="150px">
            <tr>
                <td id="recipientNumericUpDown">

                </td>
            </tr>
        </table>
    </body>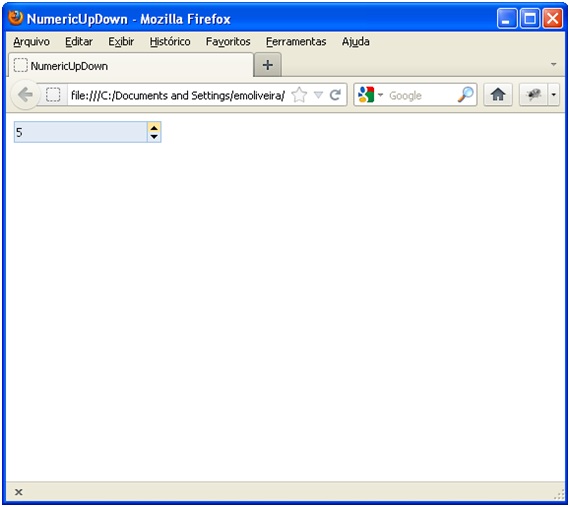
</html>Abaixo o componente no browser.

Utilizamos cookies para fornecer uma melhor experięncia para nossos usuários, consulte nossa política de privacidade.